Kitchen10 min read
10 Kitchen Countertop Styling Ideas
Kitchen counters have a habit of filling up on their own. The toaster stays out because it's used every morning, the mail lands next to it, then a bag of bread, a bottle of oil, a stack of mugs, a phone charger and a fruit bowl that's mostly empty. Before long, the counters that were supposed to be for cooking are mostly for storage.
Styled countertops aren't about making a kitchen look like a showroom. They're about deciding what earns a spot on the counter, giving those things a sensible home, and adding a few touches of warmth so the kitchen feels inviting rather than cluttered. A well-styled counter is also easier to use: you can find what you need, wipe up quickly, and actually have room to chop an onion.
These kitchen countertop styling ideas cover the practical decisions first, like editing, zoning and corralling, then the styling details that make counters look finished, from cutting boards and risers to greenery and lighting. They work for small rental kitchens and large family ones alike, and most cost very little.
1. Clear Everything Off First
The best countertop styling starts with an empty counter. Take everything off, wipe the surface clean, and only put back what you genuinely use every day or almost every day.
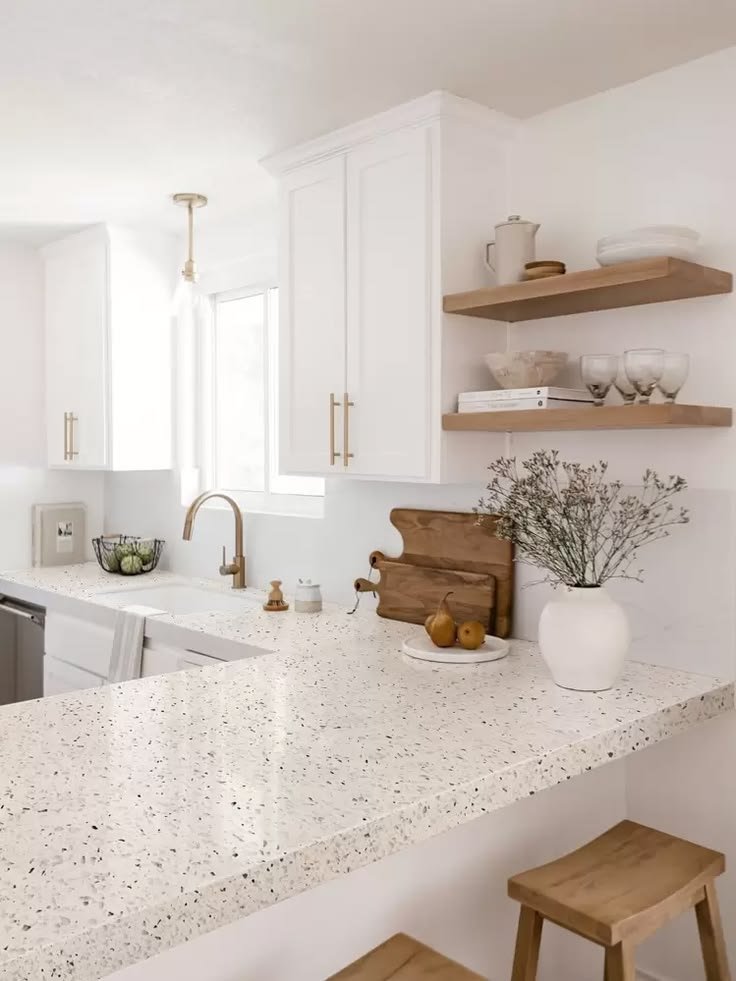
This is where most counters change completely. The stand mixer used twice a year can live in a cupboard. The pile of mail belongs somewhere else. The three different oils can become one. What's left is usually a much shorter list than you'd expect: perhaps the kettle or coffee maker, salt and pepper, a utensil crock and a cutting board.
A helpful rule is to keep at least half of each counter section clear. Open space makes a kitchen feel calmer and bigger, and it's the space you actually need for cooking.
If you're short on storage, look for ways to free up counter space elsewhere, such as hooks under upper cabinets for mugs, a magnetic knife strip on the wall, or a shelf above the counter for jars.
2. Create Simple Zones
Once your counters are edited, group things by what they're used for. Zones make a kitchen easier to work in, and they also make the counters look intentional rather than random.
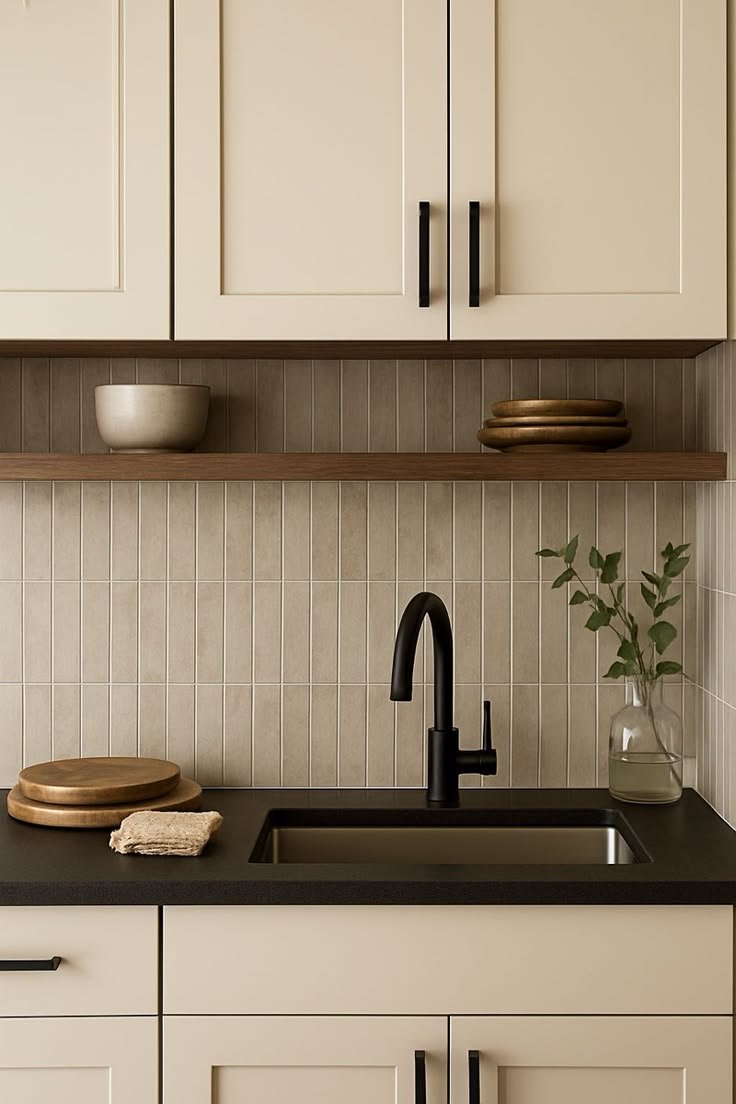
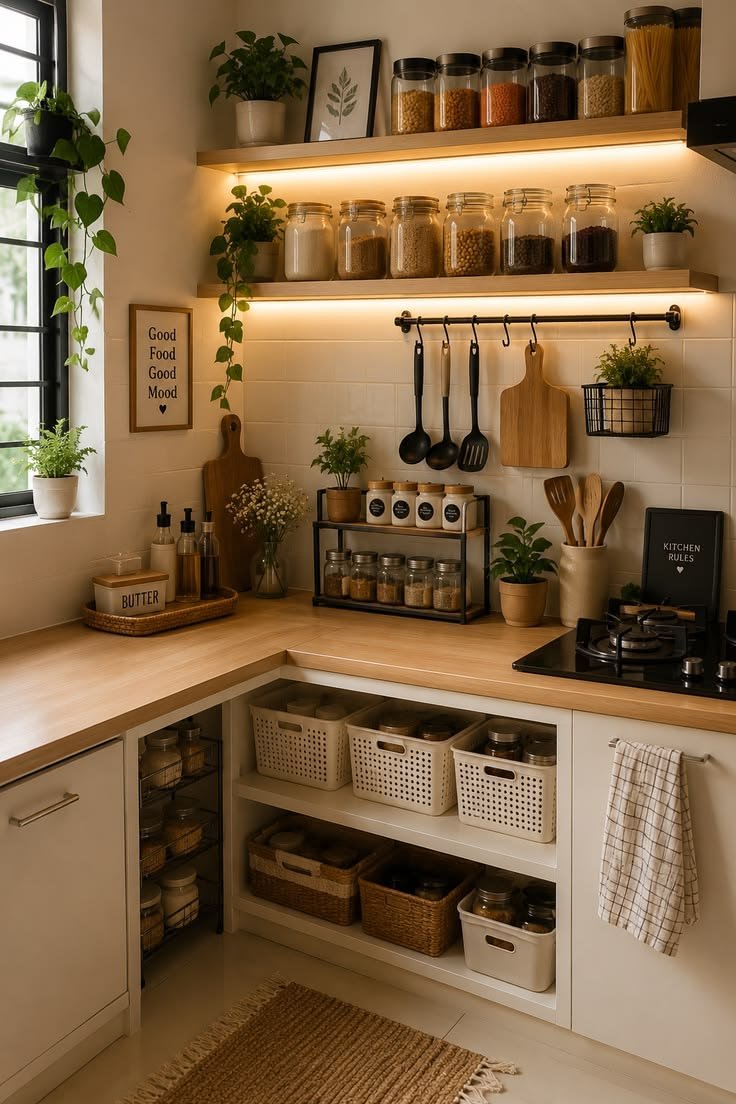
A coffee or tea zone might hold the coffee maker or kettle, a jar of coffee or tea, a sugar canister and a couple of favorite mugs, all in one corner. A cooking zone near the stove might include oil, salt, pepper and a crock of utensils. A prep zone, ideally the largest stretch of clear counter, stays mostly empty with just a cutting board.
Zones also make it easier to keep things tidy, because every item has an obvious place to go back to.
In a small kitchen, you might only have room for one or two zones. That's fine. Choose the ones you use most, and keep everything else in cupboards.
A coffee zone looks especially neat on a small tray or wooden board. It defines the space, catches drips and coffee grounds, and stops the area from slowly spreading along the counter. Hang mugs on hooks under the cabinet above it, and the whole zone takes up surprisingly little room.
3. Lean Cutting Boards Against the Backsplash
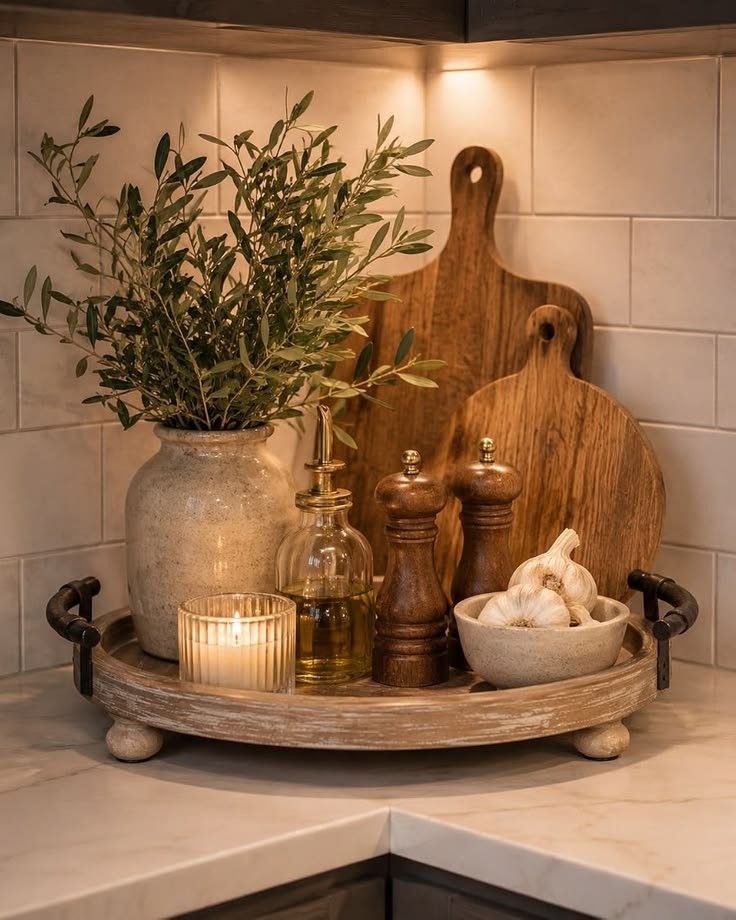
Wooden cutting boards are one of the easiest ways to make a kitchen counter look warm and styled. Layer two or three boards of different shapes and sizes against the backsplash, with the largest at the back and smaller ones in front.
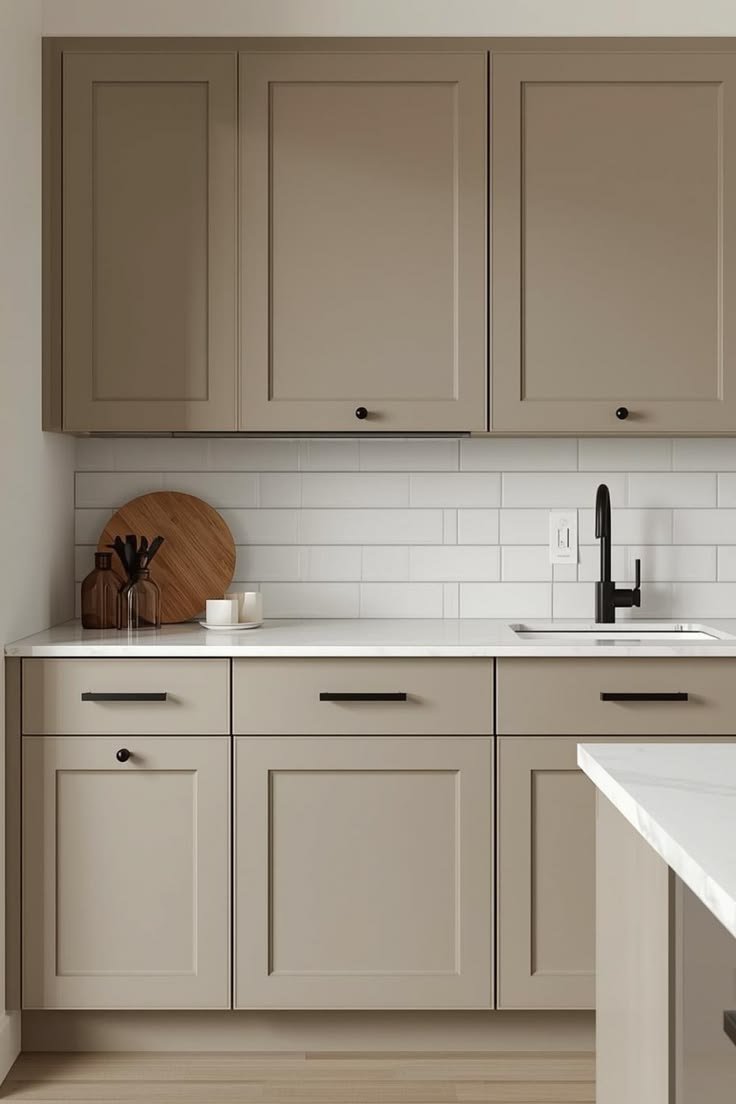
Boards with handles, rounded paddle shapes and different wood tones look especially good together. They add texture and warmth against tile, stone or painted walls, and they're right there when you need them.
This works particularly well behind the stove or in a corner, where the boards fill an awkward space and soften the hard lines of the kitchen.
Use boards you're happy to have on display and actually use. A board that's stained or warped can go in a cupboard. Oil wooden boards now and then with a food-safe oil to keep them looking good and stop them drying out.
4. Corral Oils and Seasonings on a Tray
Loose bottles scattered next to the stove are one of the biggest sources of counter clutter. Gathering them onto a small tray instantly makes them look organized, and it makes cleaning much easier, because you lift one tray instead of moving five bottles.
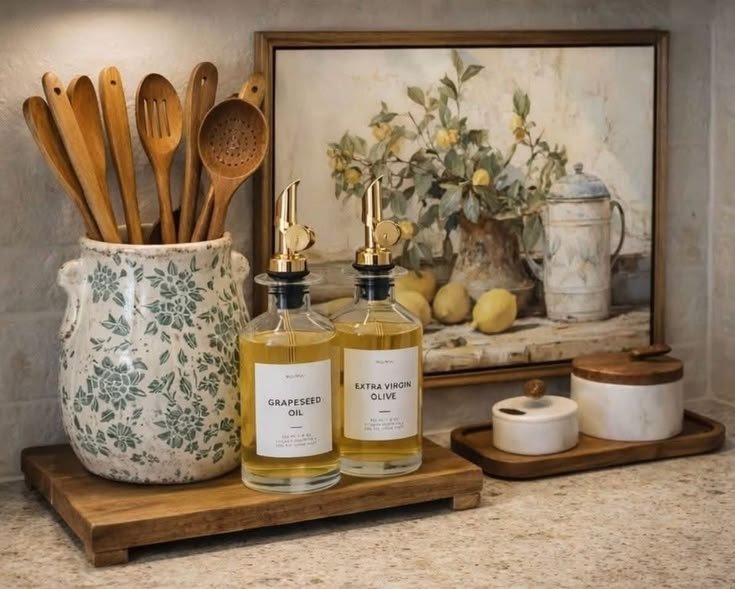
Try a round wooden tray, a marble board or a small rectangular tray with low sides. Fill it with the essentials you reach for while cooking: olive oil, salt, pepper and perhaps one or two favorite seasonings.
Decanting oil and vinegar into matching glass bottles makes the tray look especially calm and pulled together. Simple labels help everyone find the right bottle.
Keep the tray close to the stove for convenience, but not right next to the burners, where heat can affect oils and make bottles hot to handle. Wipe the tray regularly, since cooking splatters build up quickly in this spot.
5. Use a Riser or Pedestal for Height
Most countertop items are fairly low, which can make a counter look flat. A wooden riser, a footed tray or a small pedestal stand lifts a few items up and gives the arrangement height and interest.
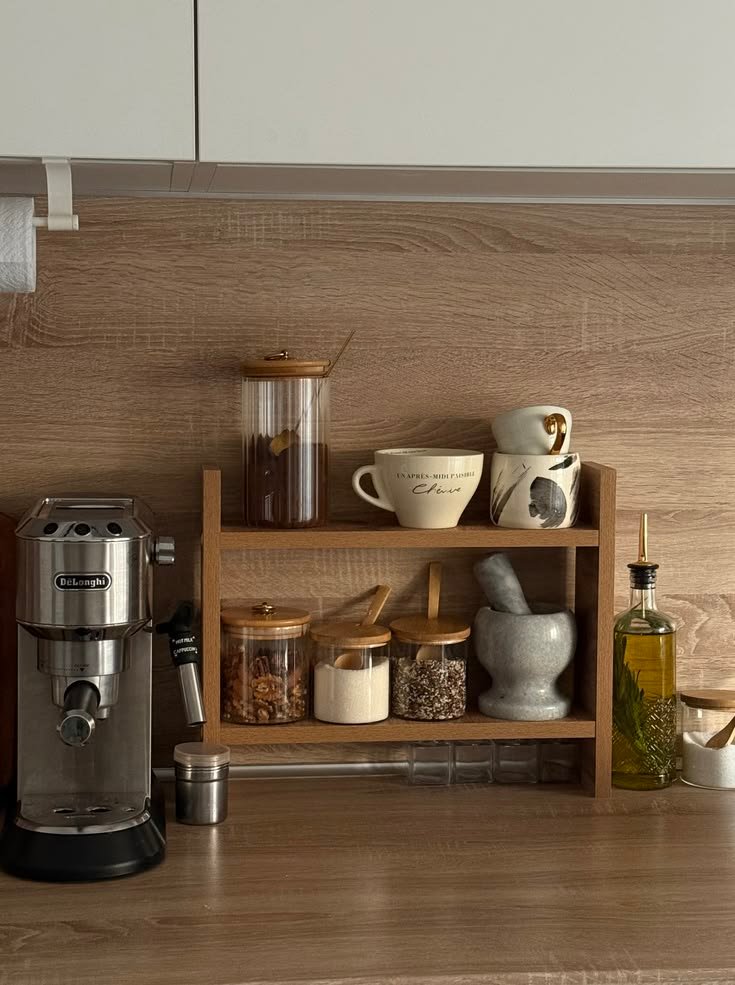
Risers also create a defined spot that looks deliberate. Place a candle, a small vase and a stack of coasters on a footed wooden riser, or use a raised board to hold oils and pepper mills.
Look for risers with small feet, beaded edges or a weathered finish if you like a farmhouse or cottage look. A plain, solid wood riser looks clean and modern, while stone or ceramic versions feel a little more refined.
A riser also helps on busy counters, because you can tuck small items underneath or around it, and wiping the counter is easier when things aren't spread out.
6. Display a Fruit Bowl
A fruit bowl is both practical and decorative. It encourages everyone to grab something healthy, and fresh fruit brings natural color that's hard to match with any decoration.
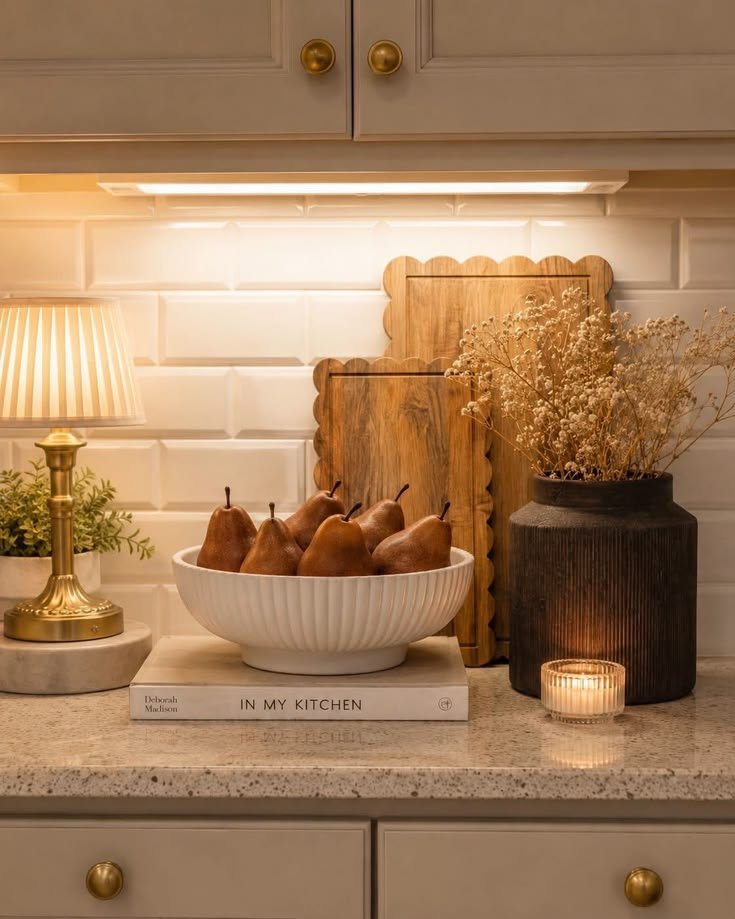
Choose a bowl with some presence, such as a shallow ceramic bowl, a wooden bowl, a footed dish or a wire basket. Wire baskets work especially well for fruit that needs airflow.
Keep it looking fresh. A bowl overflowing with fruit looks inviting, while two bruised bananas look sad. Stick to one or two types of fruit at a time for a calmer look, such as a bowl of lemons, green apples or oranges.
Some fruits ripen others faster when stored together, so if things are going soft quickly, try keeping bananas in a separate spot.
Place the bowl where it's easy to reach but out of the main prep area, such as at the end of a counter or on a kitchen island. If you have room, a bowl on the island also makes a natural centerpiece, so the kitchen looks styled even when nothing else is out.
7. Bring in Greenery
A little greenery softens a kitchen full of hard surfaces. It can be as simple as a jar of fresh herbs, a branch of olive or eucalyptus in a vase, or a small potted plant near the window.
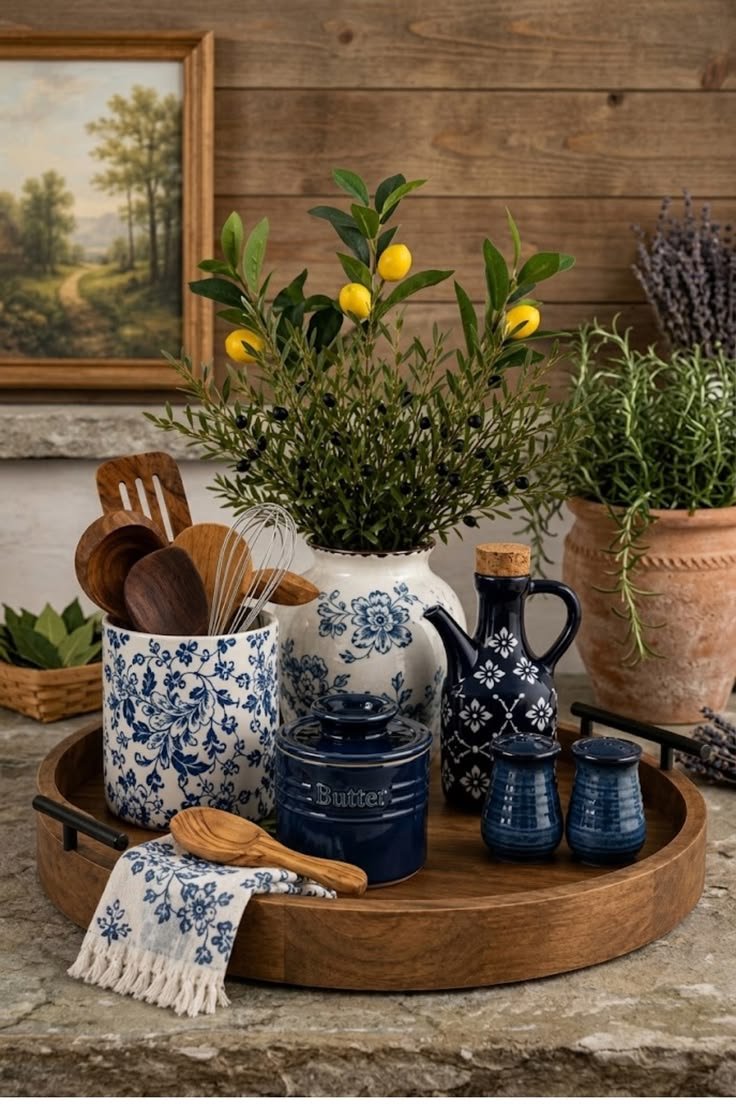
Herbs are particularly fitting in a kitchen, because they're both decorative and useful. Basil, rosemary, mint and thyme can grow on a sunny windowsill or a bright stretch of counter, and you can snip them straight into your cooking.
If your kitchen doesn't get much natural light, cut branches in a vase are an easy alternative. They last a good while with fresh water, and they bring height and life to the counter.
Keep greenery away from the stove, where heat and grease can damage plants, and avoid crowding it with other items so it has room to stand out.
8. Keep Utensils in a Crock by the Stove
A utensil crock is one of the most useful things you can keep on a counter. Wooden spoons, spatulas, whisks and tongs stay within easy reach while you cook, and the crock itself can be a decorative piece.
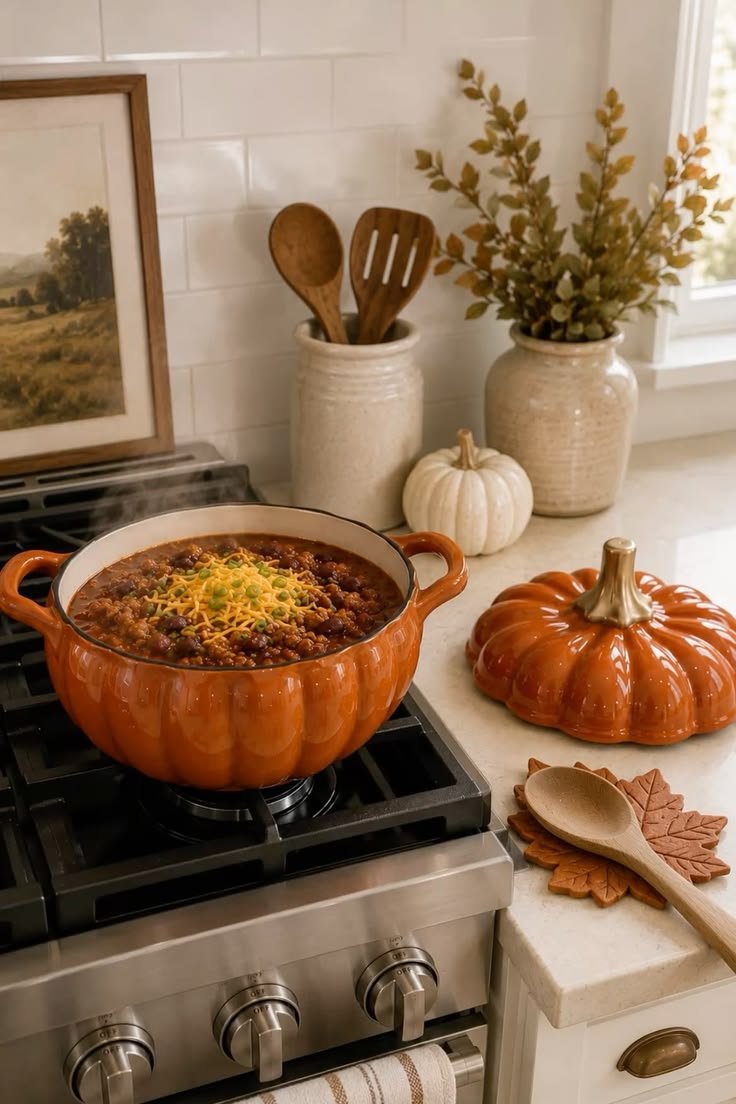
Choose a crock that suits your kitchen: a textured stoneware crock for farmhouse or cottage kitchens, a white ceramic one for a clean look, or a marble or wooden holder for a more modern feel.
Edit what goes in it. A crock overflowing with every utensil you own looks messy. Keep the ones you use most, and store the rest in a drawer.
Placing the crock on a small wooden board or tray beside the stove makes the area look styled and catches drips from utensils.
9. Style the Corner
Counter corners are often wasted, or they become a dumping ground. Instead, use the corner as a small styled spot, since it's usually too deep and awkward to use for prep anyway.
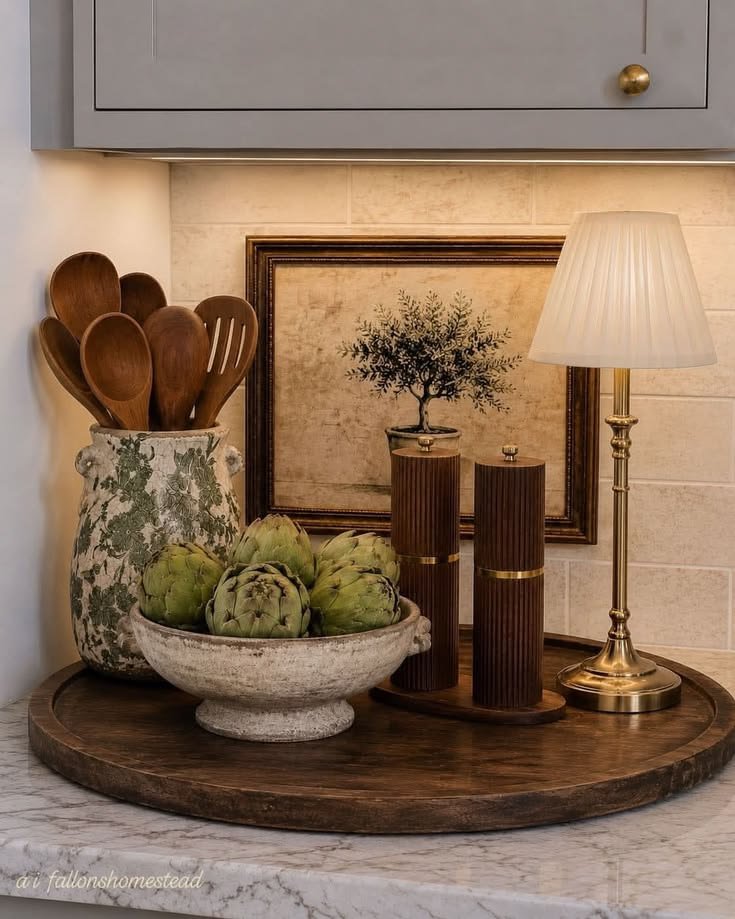
Try layering a few cutting boards or a small framed print against the backsplash, then add a canister or two, a plant, or a stack of cookbooks in front. Varying the heights and leaving a little space between items keeps the corner from looking cluttered.
Canisters for flour, sugar, coffee or pasta work particularly well in corners. Matching canisters look calm and organized, while a mix of vintage tins or jars looks collected and charming.
If you have a two-tier stand, the corner is the perfect place for it. It holds more in a small footprint and adds height.
Repeat a material or color from elsewhere in the kitchen to tie the corner in. If your cabinet handles are brass, a brass canister lid or a small brass dish picks up the same warmth. If your cutting boards are oak, a wooden riser in a similar tone keeps everything feeling connected.
10. Add Warm Lighting
Lighting changes how a kitchen counter feels, especially in the evening. Under-cabinet lights wash the counters in soft, even light that makes prep work easier and makes the whole kitchen look warm and inviting.
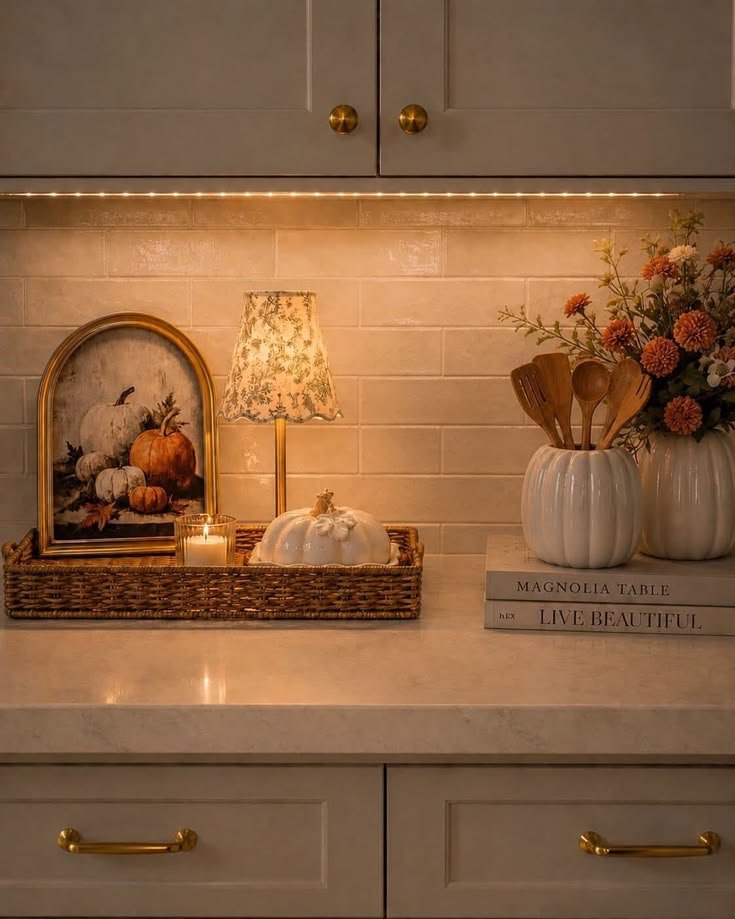
If installing under-cabinet lighting isn't possible, plug-in or battery-powered LED strips and puck lights are simple, renter-friendly options. A small table lamp on a counter corner is another idea that's becoming popular, because it adds a cozy glow that overhead lights can't match.
Choose warm-toned bulbs for a welcoming feel. Very cool light can make a kitchen feel clinical, especially in the evening. A candle on a riser or tray adds a softer glow for dinner time, too, as long as it sits well away from anything flammable.
Keep any lamp cords tidy and well away from the sink and stove, and make sure lamps and lights near water are suitable for kitchen use.
Styling Kitchen Counters That Work
Good kitchen countertop styling starts with less, not more. Clear everything off, put back only what you use regularly, and group things into simple zones so the counters are easy to work on.
From there, add warmth with cutting boards, risers, greenery and a fruit bowl, and corral the small things on trays and in a utensil crock. Styled corners and warm lighting finish the look, and they make the kitchen a nicer place to be at the end of the day.
Start with one stretch of counter this week. Edit it, give the essentials a home, and add one warm touch. You'll be surprised how much calmer the whole kitchen feels.